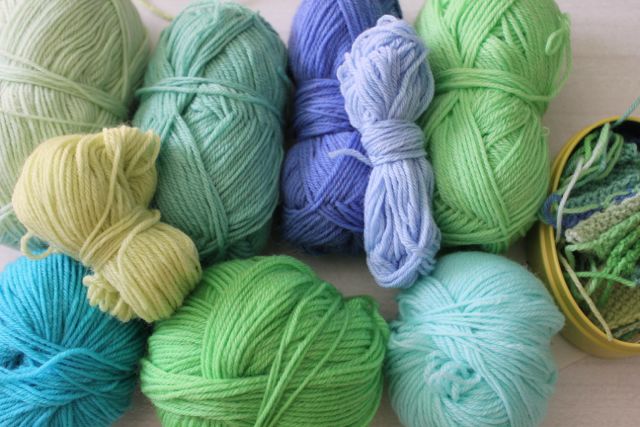
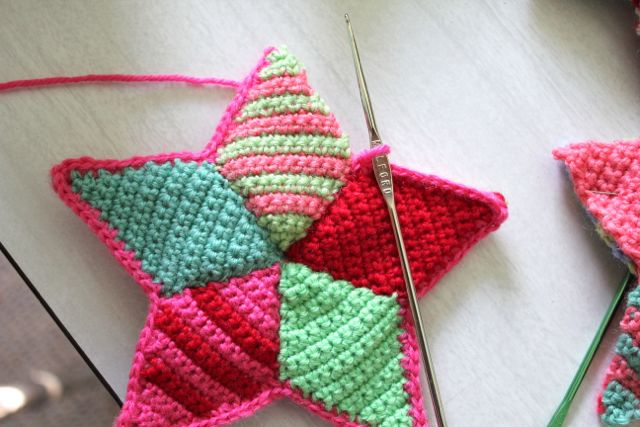
.....and a nice mix of cool colours.
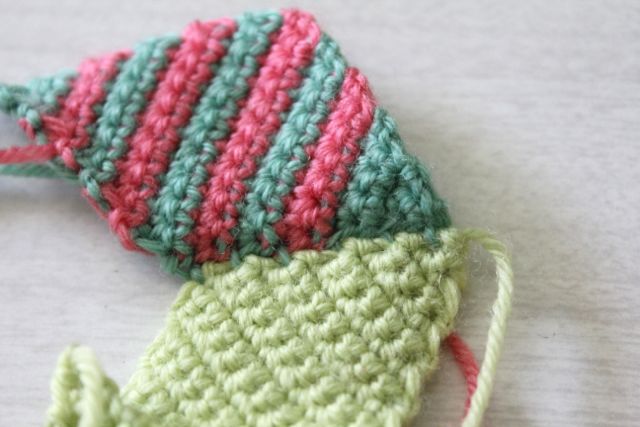
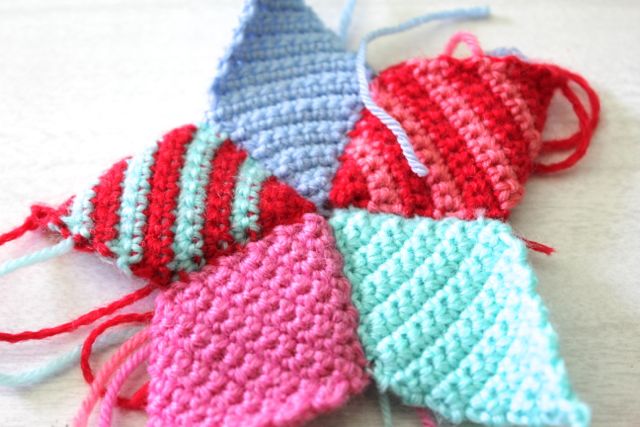
You need to make 10 star 'points' or diamonds ( 5for the front and 5 for
the back). You can do them in solid colours or use a varigated yarn or
you could stripe them like I did by changing colours every 2 rows.
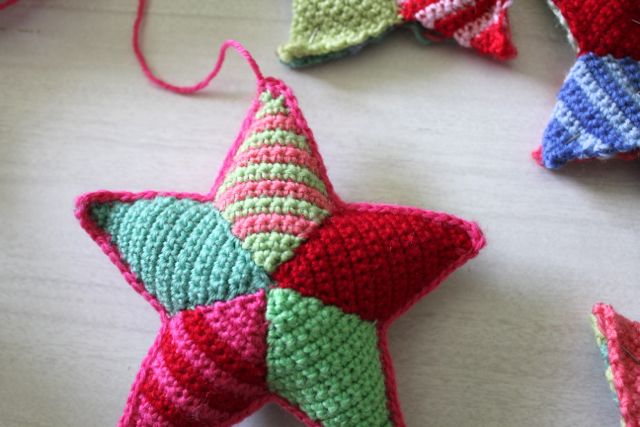
You can make your stars bigger or smaller by varying the number of rows
or by changing the yarn weight and hook size you use. Just make 10 of
the same size and you'll be fine!
(leave a long tail at the beginning so you can use it to sew up later)
BASIC DIAMOND PATTERNCh 2
row 1: 2sc into 2nd ch from hook, turn.
row 2: Ch1(turning chain) 1sc into first st, 2sc into 2nd st, turn.
row 3: Ch1, 1sc into 1st st, 1sc into 2nd st, 2sc into last st, turn.
row 4: Ch1, 1sc into 1st st, 1sc into each st across until last st, 2sc into last st, turn.
Repeat row 4 until you have 11 stitches. ( or as many stitches as you
like, more stitches means a bigger diamond and finished star , less a
tiny diamond and finished star)
Start decreasing.
The decrease pattern is as follows:
Ch1, sk1st st, sc into next st and each st across, turn. (reduces by 1 st in each row)
Continue doing this to each row until you have 1 st left and fasten off.
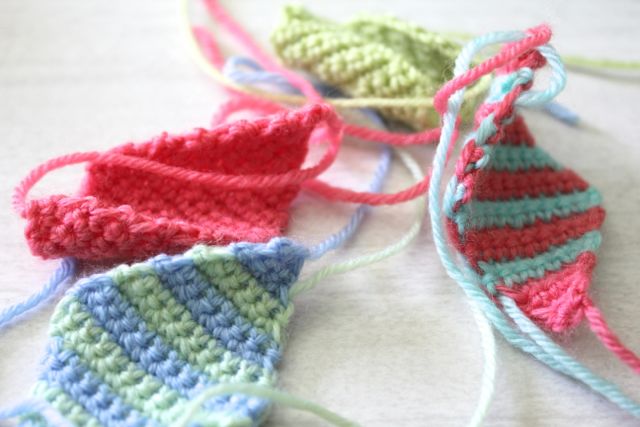
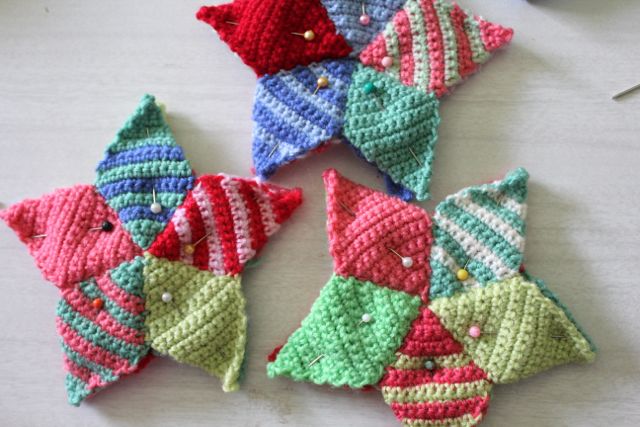
Make 10 diamond shapes for each star.
[center]
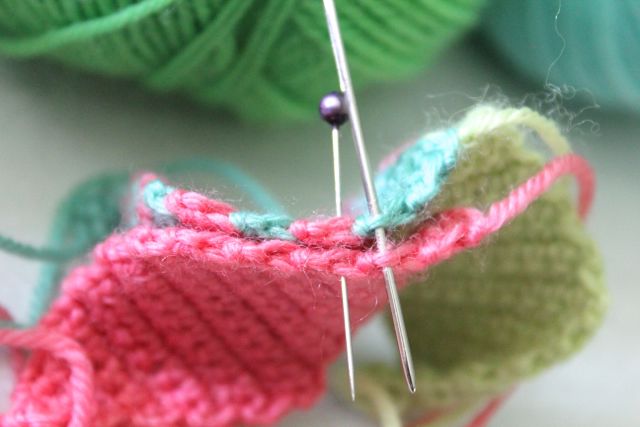
Next, sew the bottom half of one diamond to the next diamond, right
sides facing each other. I found that by matching up the 'bumps and
troughs' along the edge, I could sew in and out of these and it gave a
nice neat, even join. (see where I have put the needle and pin through
in the above photo, the pin is through a trough, and the needle is
through the bump!)